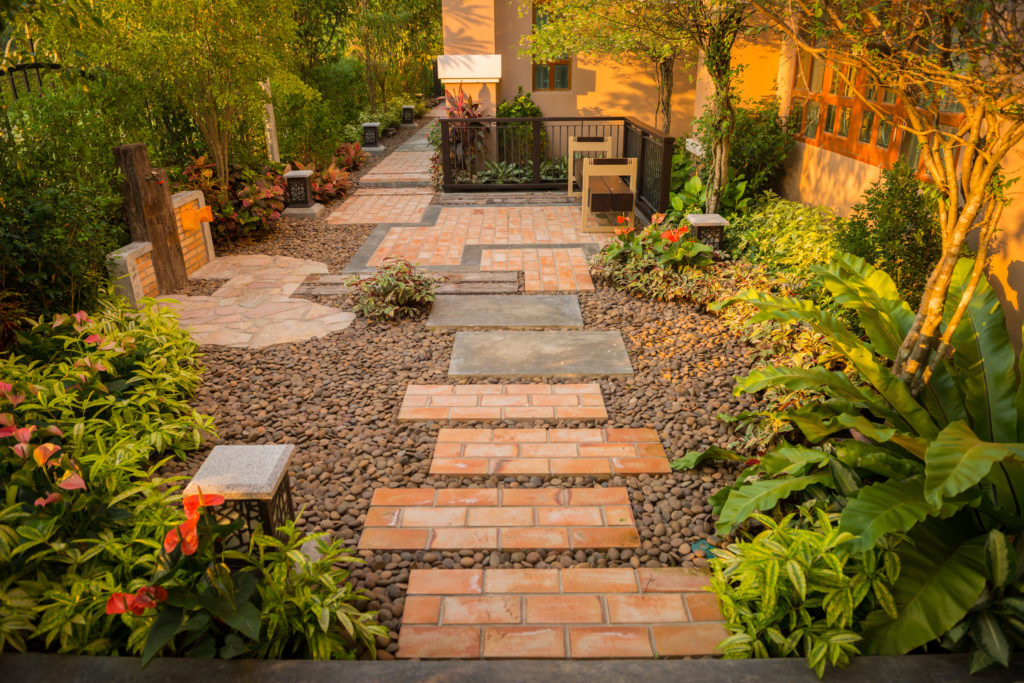
DIY Decorative Gravel Landscaping in Four Easy Steps

1st Step — Start with the Foundation
Any home improvement project must begin with a stable foundation, and DIY gravel landscaping is no different! When you dig out the area for your foundation, you’ll be able to add a rock or stone border in order to outline the area itself. This will provide a touch of style and color while improving the structural integrity of the landscaping. The hole should only two to three inches deep as well as smooth and flat. Once that foundation is ready to go, it’s time to really get started!
2nd Step — Install the First Layer of Gravel
Now, your pristine foundation is ready for the first layer of gravel. Before you place the beautiful, decorative gravel, you must first build a solid foundation with the cheaper road base gravel. Don’t worry, this gravel won’t be visible since it will be covered with decorative landscape gravel in the next step. Fill the foundation area around ¾ high and make sure this first layer is properly tamped down. Use a compactor to produce the most seamless and solid results.
3rd Step — Add Decorative Landscape Gravel
So now that you’ve got the foundational road gravel all nice and compact, it’s time to get artistic! NM Ready Mix has a wide variety of decorative landscape gravel from which to choose so you can bring your landscaping dreams to reality with your very own hands! Once you have the landscape gravel arranged as you wish, make sure to level it out by using a garden rake. Don’t use a compactor on landscape gravel since it will not compact as it should. In fact, landscape gravel can clog up your compactor or even cause gravel to shoot out! So avoid the compactor during this final step.
Final Step — Be Proud of Your Creation!
And that’s it! Your backyard now has that personal charm. Invite friends and family over for a backyard cookout. Your guests will undoubtedly commend you on your project’s beautiful outcome. When they ask where you got your gravel, you can proudly tell them NM Ready Mix. We make it easy for your DIY dreams to become a reality. Contact NM Ready Mix today to learn more about what we have to offer!
